Appraisal
The Appraisal tab provides a space between Transfer and Ingest for archivists to decide which files from transfers should become SIPs and how these files should be arranged within the SIP. It includes features for examining the characteristics and contents of the files as well as for connecting files to finding aids created in ArchivesSpace. The Arrange a SIP from Backlog feature, found in previous versions of Archivematica, also has moved to the Appraisal tab (see Arrangement).
Note
If you are running Archivematica without Elasticsearch or with limited Elasticsearch functionality, the Appraisal tab will not appear in your dashboard.
On this page:
- Transfers in the Backlog
- Analysis
- File List
- ArchivesSpace Resources
- Adding Files to ArchivesSpace Resources and Starting SIPs
- Arrangement
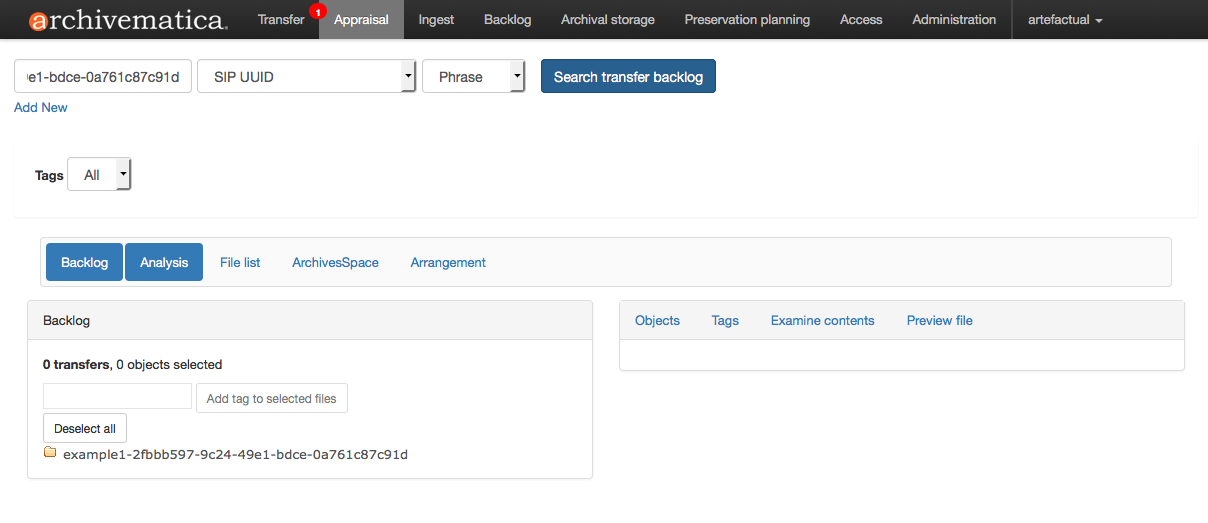
Transfers in the backlog
Transfers that have been sent to the backlog can be found in the Backlog pane of the Appraisal tab. Search the backlog by entering search terms and parameters in the search box at the top of the page.
Adding Tags
Tags can be added to selected files in the backlog by entering a tag name and clicking the “Add tag to selected files” button at the top of the Backlog pane.
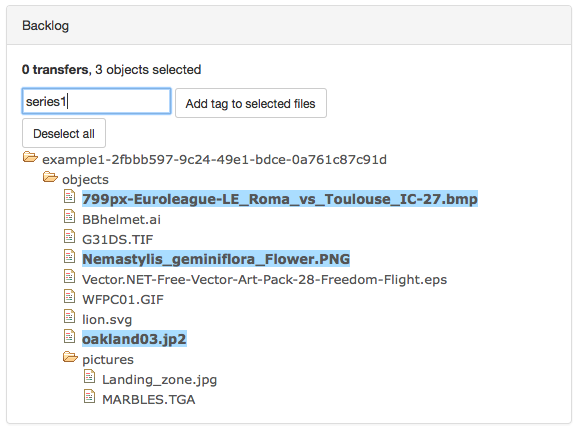
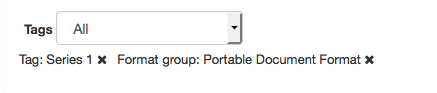
Tags that have already been created appear in the Tags drop-down menu. Choosing a particular tag filters the files that appear within transfers in the Backlog pane by that tag. Filters added in other panes in the Appraisal tab will also appear listed under the Tags drop-down menu. Filters can be removed by clicking the “x” next to them.
Tags can also be added from within the File list (see below).
Analysis
The analysis pane allows the user to explore files in transfers sent to the backlog. Files selected in the Backlog pane populate the Analysis pane and can be analyzed through four tabs: Objects, Tags, Examine Contents, and Preview File.
1) Objects
In the Objects tab, information about selected files can be viewed in the form of a report or a visualization. The Report view provides information about the files’ format, PUID, group, number of files, and size. Files can also be analyzed through visualizations with options for representing the total number of files in each format and for representing the total size of files for each format represented in the list.
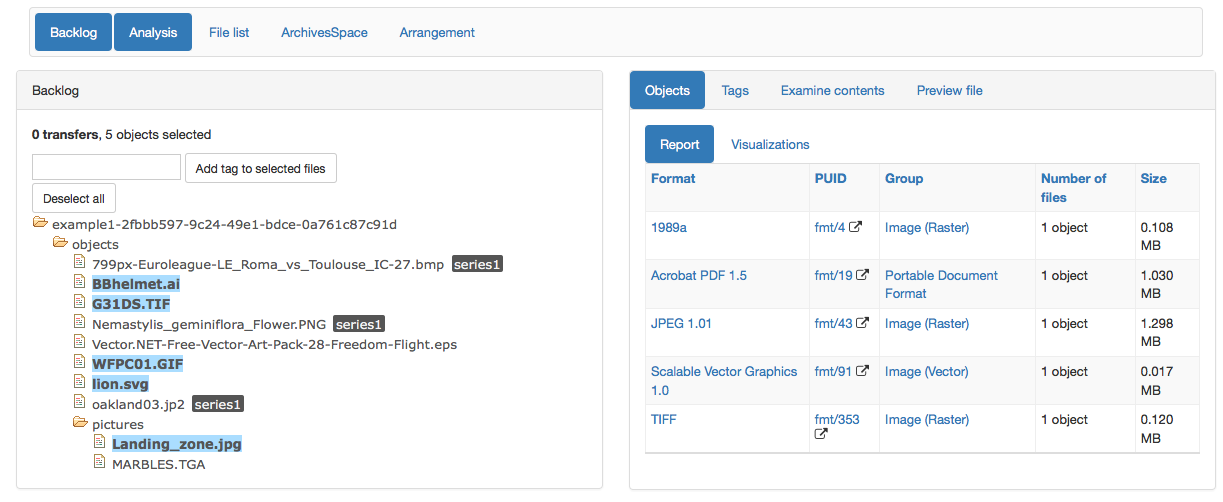
Report showing files selected in the Backlog pane
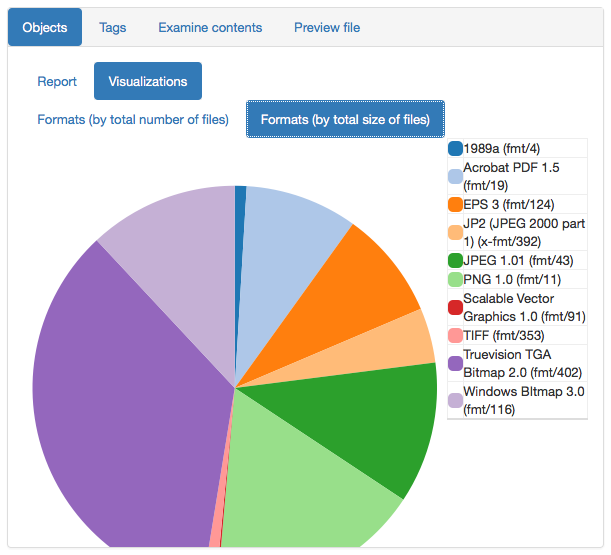
Visualization showing formats by total size of the selected files
Files listed in Analysis can also be filtered by Format, PUID, and Group through selecting values for these facets in the Report view. For instance, if the user clicks on the Group “Portable Document Format” listed for one of the files, this filter is added and only PDF files remain listed in the Analysis pane. Filters appear under the Tags drop-down menu and can be removed by clicking the “x” beside the name.
2) Tags
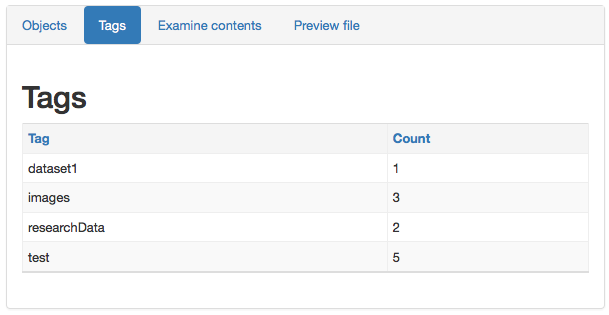
The Tags tab lists any tags that have been added and how many of each tag are present in the selected files.
3) Examine Contents
If Examine Contents (using the tool Bulk Extractor) was used during transfer, the Examine Contents tab provides the reports created during this microservice. This tab includes options for listing files that potentially contain personally identifiable information (PII) or credit card numbers. Examine Contents also includes an option for adding tags to these files.
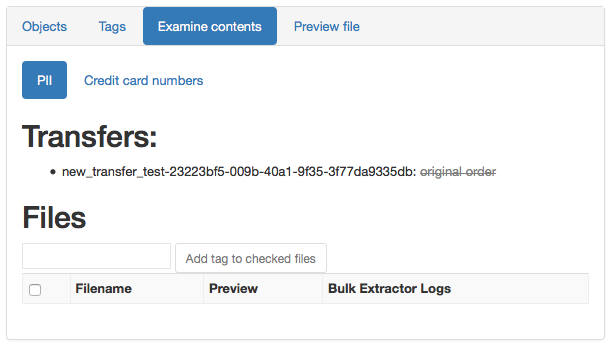
Examine contents tab showing a selected transfer where no files with PII were found
4) Preview File
Files selected in the File List pane (see below) can be previewed in the Preview File tab.
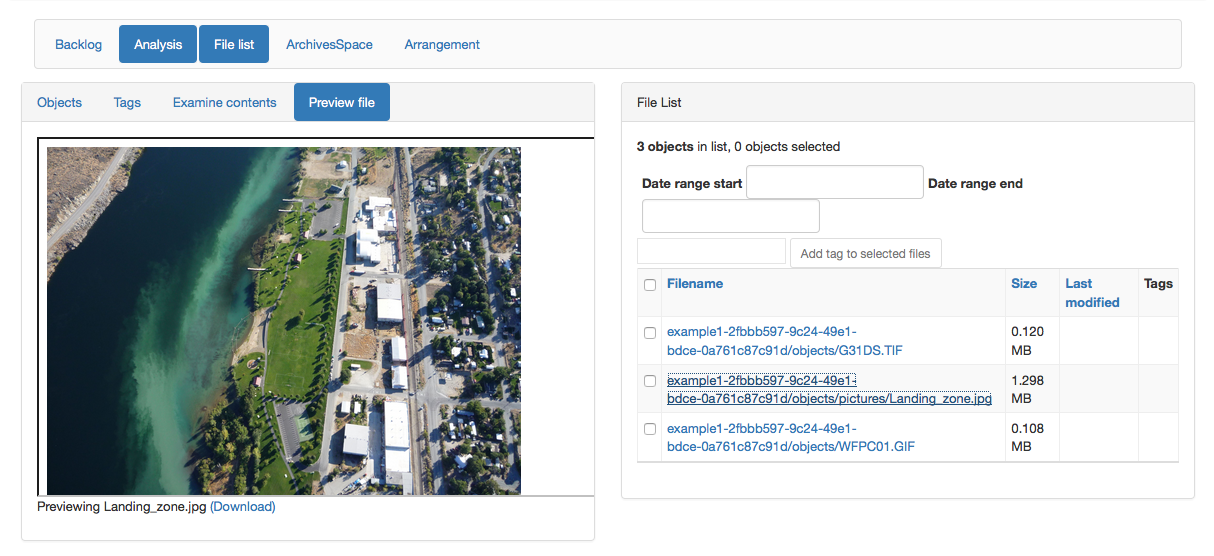
File List
The File List pane is also populated by selecting files in the Backlog pane. File List provides information about the filenames, sizes, dates files were last modified (if available), and any tags that have been added to the selected files.
Any filters that have been applied in the Analysis pane or through the Tags drop-down menu will affect what files appear in File List. In addition, a date range can be added to filter files by the date they were last modified.
This pane also provides an option for adding tags. Files can be selected by checking the checkbox next to their filename, creating a tag name, and clicking “Add tag to selected files.” Tags can be removed from files by clicking the “-“ next to the tag name.
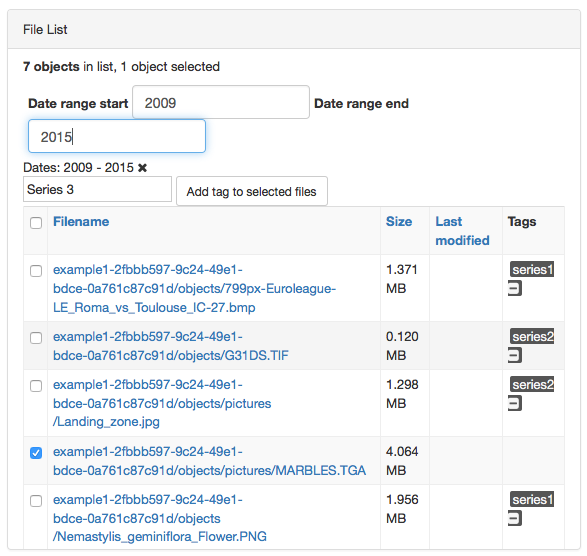
File list pane showing options for adding tags and filtering by date range
Clicking on the name of the file opens a preview in the Analysis pane.
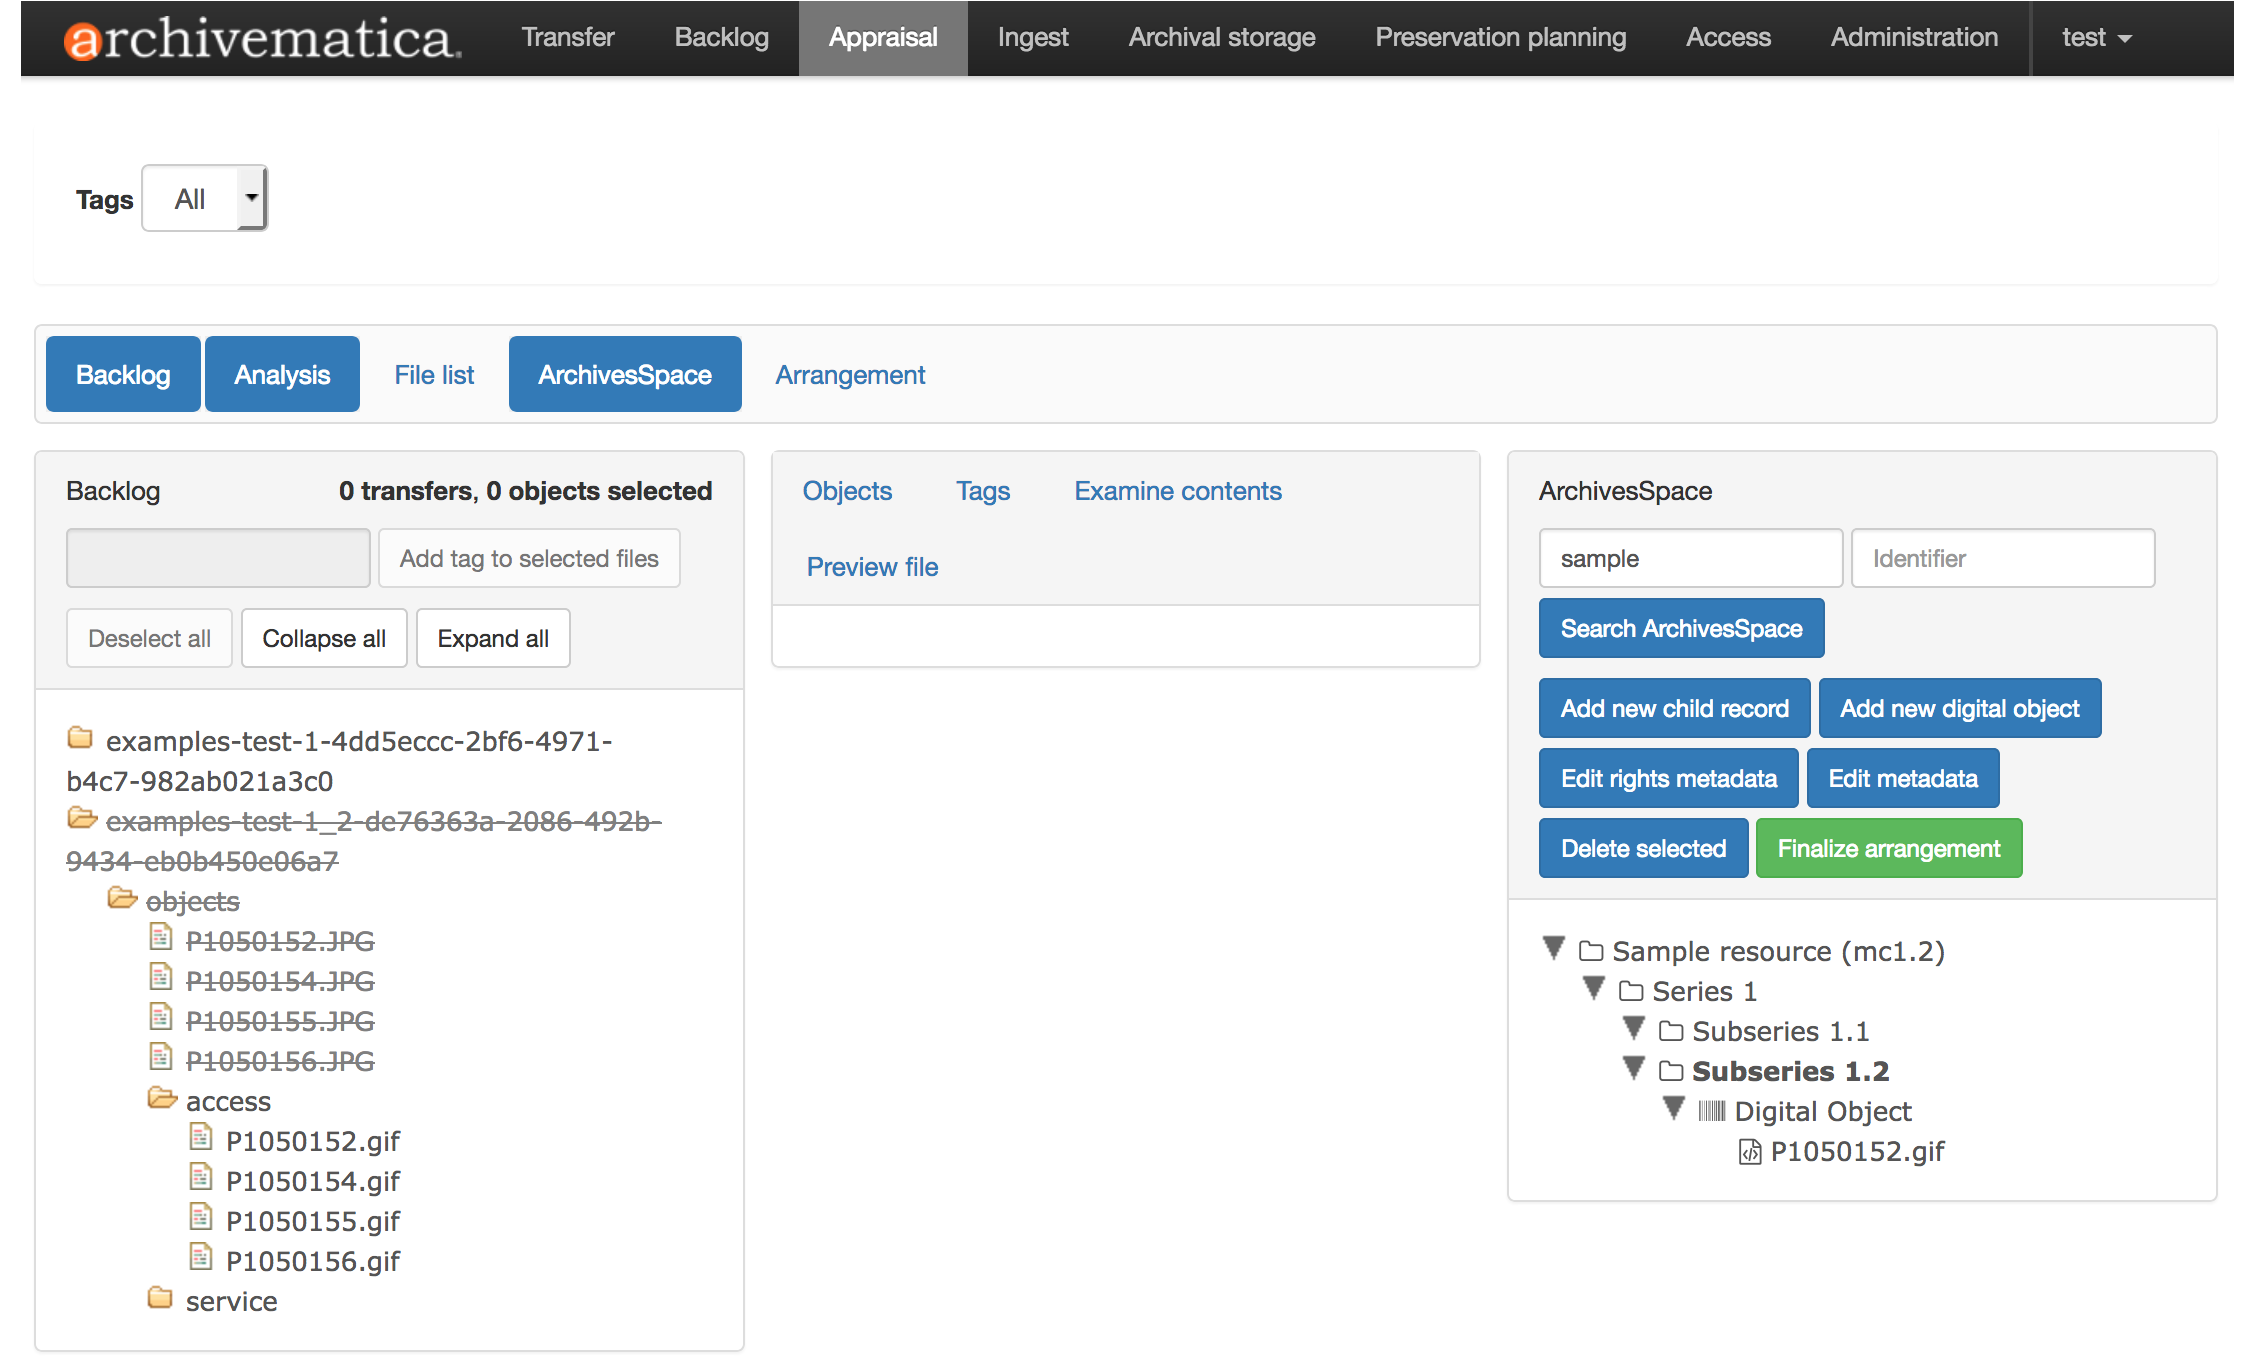
ArchivesSpace Resources
The ArchivesSpace pane in the Appraisal tab allows for retrieving and adding to resources that have been created in an ArchivesSpace repository. Settings for ArchivesSpace DIP upload should be configured in the Dashboard administration tab to associate the ArchivesSpace repository. In the ArchivesSpace pane, files transferred into Archivematica can be associated with resources created in ArchivesSpace and SIPs can be sent to Ingest.
ArchivesSpace Terms
Finding aids in ArchivesSpace are called “resources” (i.e. fonds, collection, record group, etc.). Lower levels of description nested under resources are “archival objects” (series, files, items, etc.). Metadata about digital files is managed separately as “digital objects” which can be associated with resources/archival objects at any level of description. More information on ArchivesSpace can be found at http://archivesspace.org/.
Searching for ArchivesSpace Resources
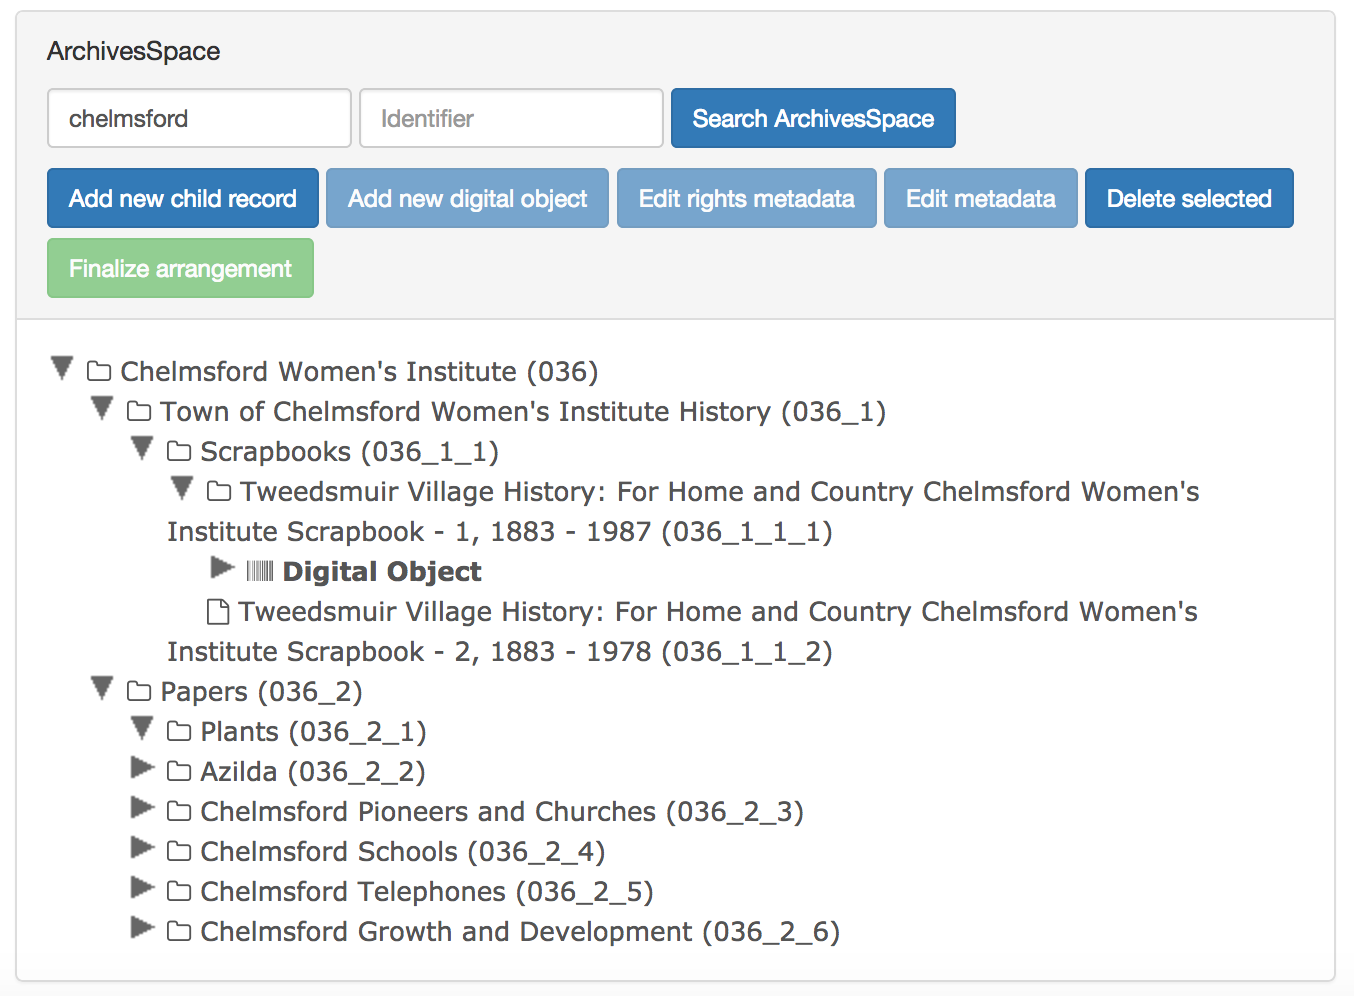
The search box at the top of the ArchivesSpace panel enables searching for resources within an ArchivesSpace repository. A user can search by the title or identifier of a resource.
ArchivesSpace resources can be expanded to show lower levels of description. Folder icons indicate ArchivesSpace resources and archival objects that have child records nested under them. Page icons indicate resources and archival objects that do not have child records. Digital object components are designated by the parallel lines icon.
Note
Digital objects created and linked to resources in ArchivesSpace will not appear in the ArchivesSpace panel. However, digital objects added to a resource from within the ArchivesSpace panel are displayed.
Creating Archival Description
Options at the top of the ArchivesSpace pane allow for adding to and changing an existing ArchivesSpace resource, such as adding new archival objects and digital object components.
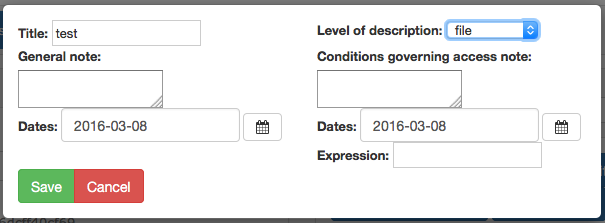
Selecting a resource or archival object and using “Add new child record” adds a new archival object nested underneath the selected level of description. Clicking this button brings up a dialog box for entering metadata. At a minimum, a new archival object must have a title and a level of description, otherwise “save” is not available.
The new archival object will appear in the ArchivesSpace pane and the change will be reflected in the ArchivesSpace repository. The “Delete Selected” button can be used to remove mistakenly created archival objects.
“Add New Digital Object Component” similarly allows for adding digital object components to ArchivesSpace resources/archival objects.
Note
Digital object components will not appear in the ArchivesSpace repository until later in the workflow when the AIP for the digital object is stored.
Both archival objects and digital object components can be created in the ArchivesSpace pane at any level of description; however, new resources can only be created in ArchivesSpace.
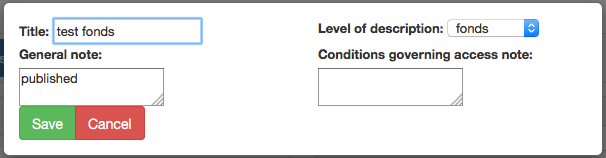
Basic metadata for existing archival objects and digital object components can be edited using the “Edit Metadata” button.
“Edit Rights Metadata” leads to a form for adding PREMIS rights information.
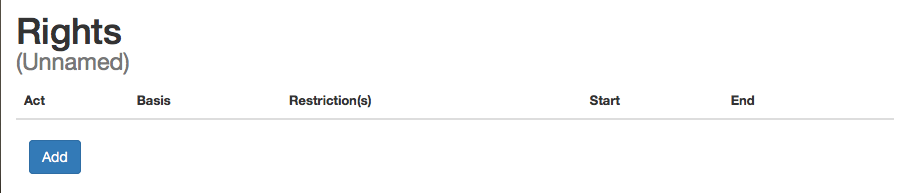
Click “Add” to add rights.
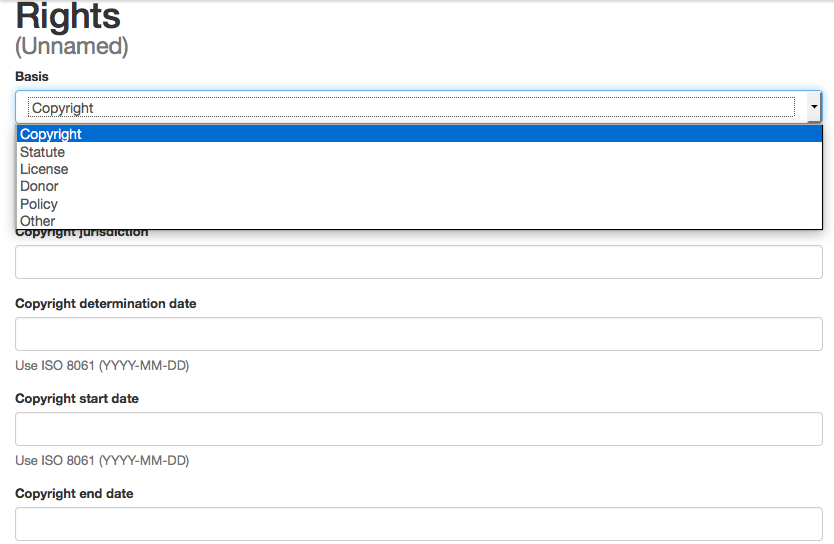
Specify the type of rights information from the drop-down menu and fill out the relevant fields.
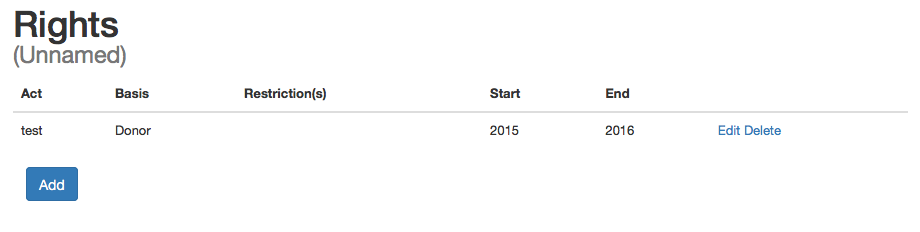
The form for adding rights includes two pages of fields. Once added, acts can be edited or deleted and further acts can be added.
Note
Rights can only be added at the SIP level.
Adding Files to ArchivesSpace Resources and Starting SIPs
Transfer files in backlog can easily be associated with ArchivesSpace resources by dragging and dropping files from the Backlog pane to digital object components in the ArchivesSpace pane.
To add files to ArchivesSpace resources:
- Search the backlog by entering terms and parameters in the search box at the top of the page. For a list of all transfers in backlog, simply click within the search box leaving the edit field blank, and then click Search transfer backlog.
- Click ArchivesSpace to enable the ArchivesSpace panel, search by title or identifier of a resource, and then click Search ArchivesSpace. A hierarchical view of the resource is displayed.
- Create digital object components within the ArchivesSpace panel by clicking Add new digital object. Digital object components must be created in the Appraisal tab.
Note
Digital objects created and linked to resources in ArchivesSpace will not appear in the Appraisal tab.
- Now click and drag files in the Backlog panel to digital object components in the ArchivesSpace panel.
Note
One file or directory from a transfer can be moved at a time. A file can only be added once to an ArchivesSpace resource. Files that have been added to a digital object component will appear with a strike-through in the backlog.
- Once all files have been added and the arrangement has been set, SIPs can be started in Ingest. Select the resource/archival object and click Finalize arrangement. SIPs can be created from ArchivesSpace archival objects at any level of description.
Tip
Before starting a SIP in the ArchivesSpace panel, verify that all required metadata associated with an ArchivesSpace resource is in place, particularly at the parent-level of the arrangement. In ArchivesSpace, verify that a material description record is linked to an agent record.
Arrangement
The arrangement pane provides options for appraising and arranging files from the backlog for users not using ArchivesSpace.
Files from the Backlog pane can be dragged to the Arrangement pane to arrange the files and create SIPs.
To create structure within the SIP or to create multiple SIPs, use “Add directory.” This button can be used to create separate directories or to create directories nested within other directories.
Once all relevant files have been dragged from the Backlog pane to directories in Arrangement, select the top-level directory corresponding to the intended SIP, and click “Create SIP” to send the SIP to Ingest. Other directories will remain in the Arrange pane until arrangement is complete and they are sent to Ingest.
Archivematica 1.8.1
Contents
Search
Open the general index or type your search in the search box.
Available projects
Archivematica
- Version 1.17.1 (stable-current)
- Version 1.16.0 (stable-previous)
- Version 1.15.1 (legacy)
- Version 1.14.1 (legacy)
- Version 1.13.2 (legacy)
- Version 1.12.2 (legacy)
- Version 1.11.2 (legacy)
- Version 1.10.2 (legacy)
- Version 1.9.3 (legacy)
- Version 1.8.1 (legacy)
- Version 1.7.2 (legacy)
- Version 1.6.1 (legacy)
- Version 1.5 (legacy)
- Version 1.4 (legacy)
Archivematica Storage Service
- Version 0.23.0 (stable-current)
- Version 0.22.0 (stable-previous)
- Version 0.21.1 (legacy)
- Version 0.20.1 (legacy)
- Version 0.19.0 (legacy)
- Version 0.18.1 (legacy)
- Version 0.17.1 (legacy)
- Version 0.16.1 (legacy)
- Version 0.15.1 (legacy)
- Version 0.14.1 (legacy)
- Version 0.13.0 (legacy)
- Version 0.12.0 (legacy)
- Version 0.11.1 (legacy)
- Version 0.10 (legacy)
- Version 0.9 (legacy)
- Version 0.8 (legacy)
License
Archivematica documentation by Artefactual Systems Inc. is licensed under a Creative Commons Attribution-ShareAlike 4.0 International License.
